Have you had a chance to take a look at HawtIO yet? If you haven't, it's a new web-based dashboard for managing and monitoring JVM-based services like Apache ActiveMQ, Apache Camel, JBoss, Infinispan, Apache Tomcat
and many others!. Actually, it's not just for monitoring, but you can edit, debug, profile your Camel routes and use it as the backbone of a cloud-based integration platform (iPaaS) as James Strachan demos in this video: Introducing the Apache Camel based open source iPaaS. Needless to say, it's hawt :)
With that hawtness as a backdrop, let's focus on using HawtIO specifically with ActiveMQ.
I have blogged in the past about plugging HawtIO into a stand-alone version of ActiveMQ -- and if you're interested in collocating your management console with the embedded jetty that comes with ActiveMQ, that's cool and you should check it out. However, in this blog, we're going to cover a couple additional things:
- HawtIO with ActiveMQ 5.9
- Connecting to a remote ActiveMQ (older than 5.9.0)
- Connecting to a JVM on your local machine with HawtIO
Next Apache ActiveMQ Release
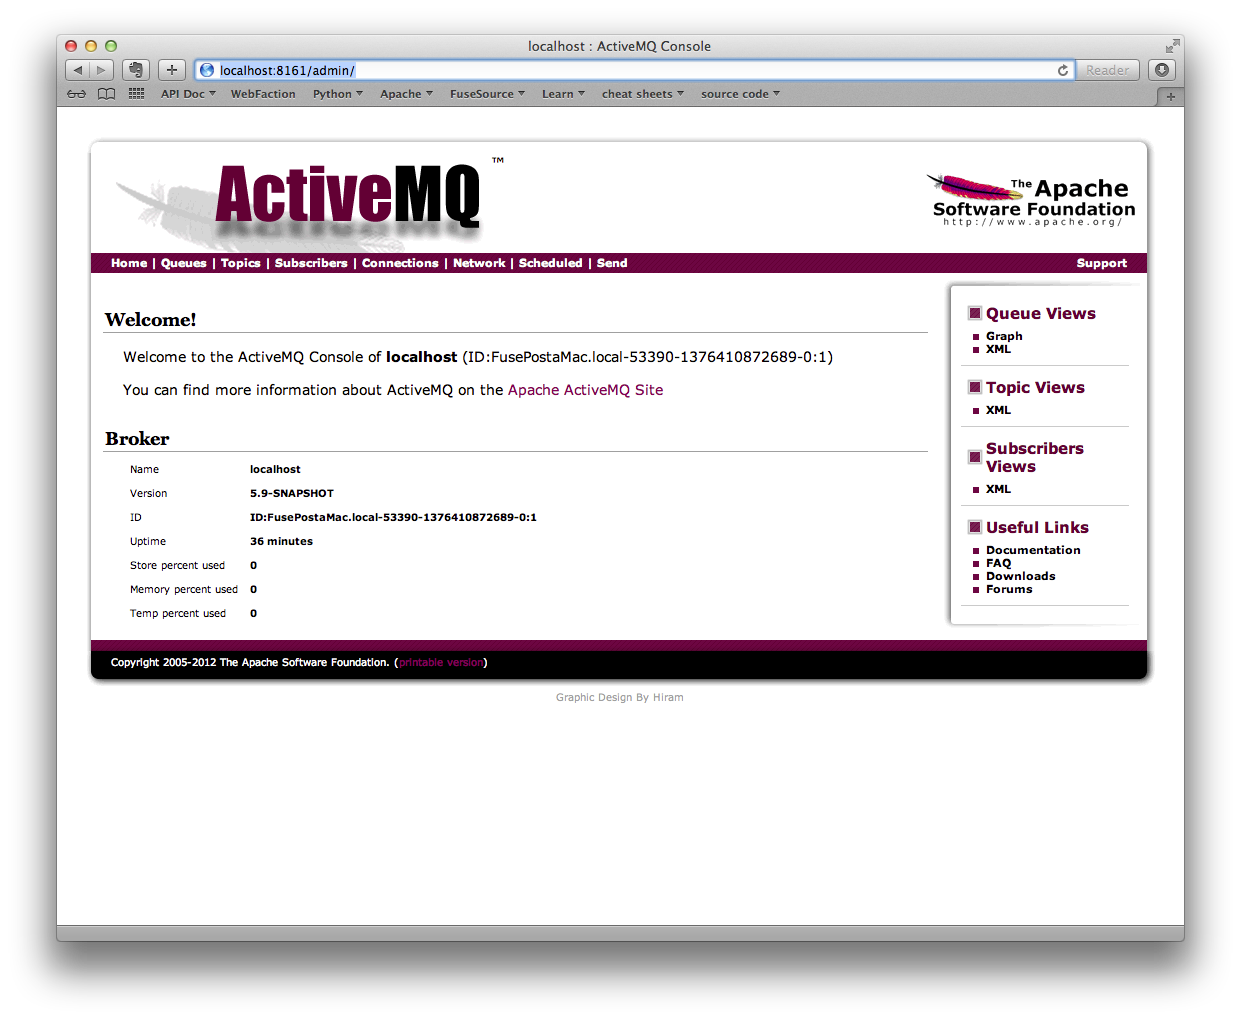
ActiveMQ 5.9.0 is (hopefully) going to be released some time this Fall 2013. I guess since it's an open source project, it depends on when we have time to work on it :) But among the many cool new features that I plan to talk about at the Phoenix JUG in September, one of the sexiest is replacing the existing ActiveMQ webconsole with HawtIO! That's right... the older, dated, webconsole (below) is getting ousted!
So why don't we get our hands wet a little, and play with a nightly build. You can take a look and get the latest 5.9-SNAPSHOT release. Unpack it and startup ActiveMQ:
$ACTIVEMQ_HOME/bin/activemq console
With the default config that's loaded, you should be able to navigate to http://localhost:8161/admin to see the old admin console (if it asks for a password, 'admin' 'admin' is the default username and password):
BTW! The pics are small, I know. Click on any of them to see full sized!
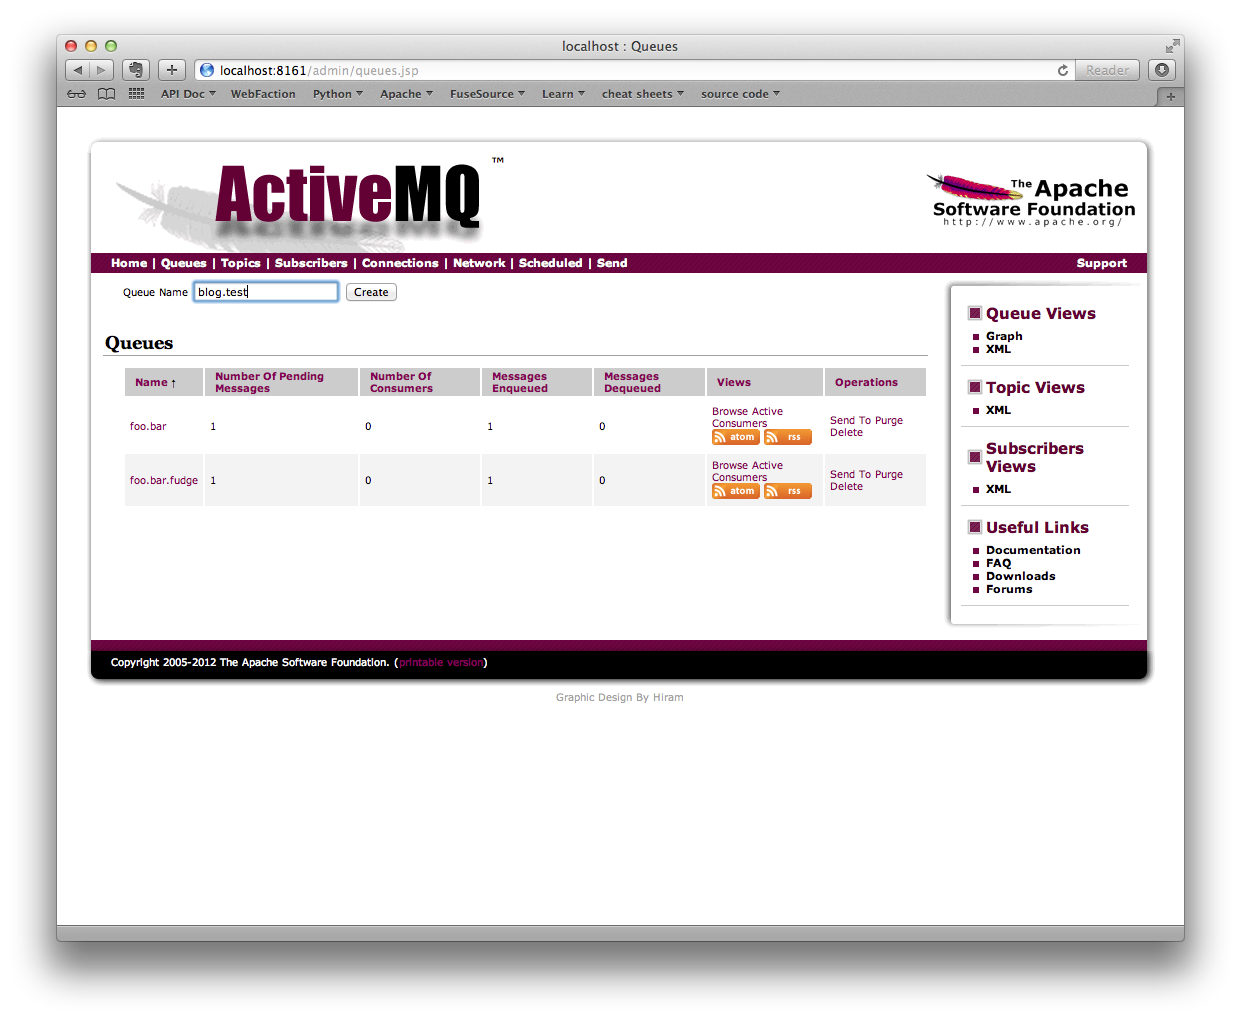
If you've used this web console in the past, you'll know that it gives you an overview of the broker in terms of destinations, some basic stats, connections, and some limited visibility into network connections. You can also create queues and topics:
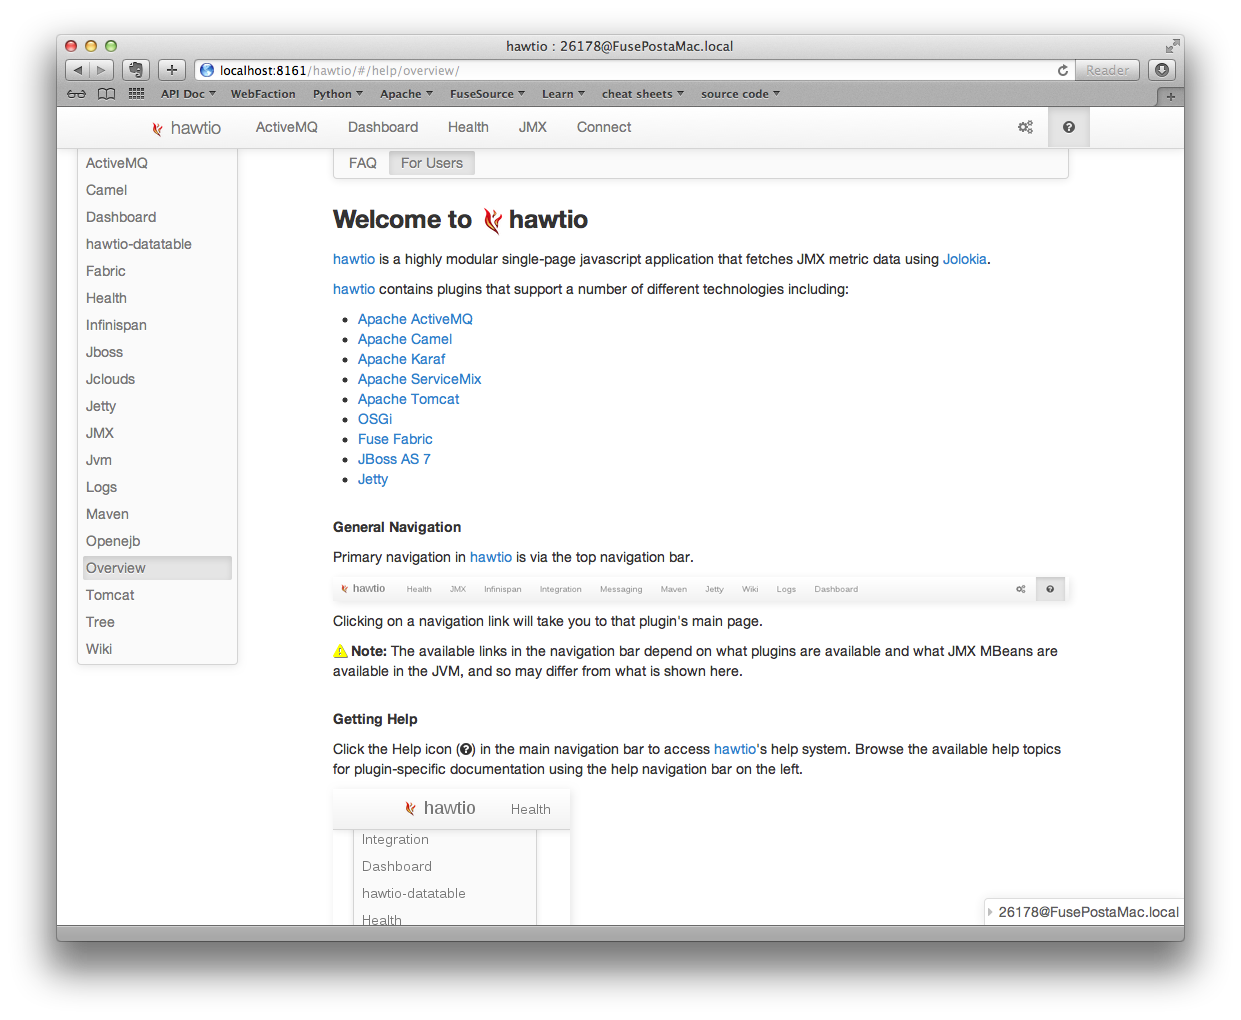
But now, if you navigate over to http://localhost:8161/hawtio, you should see the hawtio dashboard:
On first notice, you'll see that HawtIO is much more that just an ActiveMQ dashboard. It has plugins for all kinds of technology, and it can all be managed from one place.
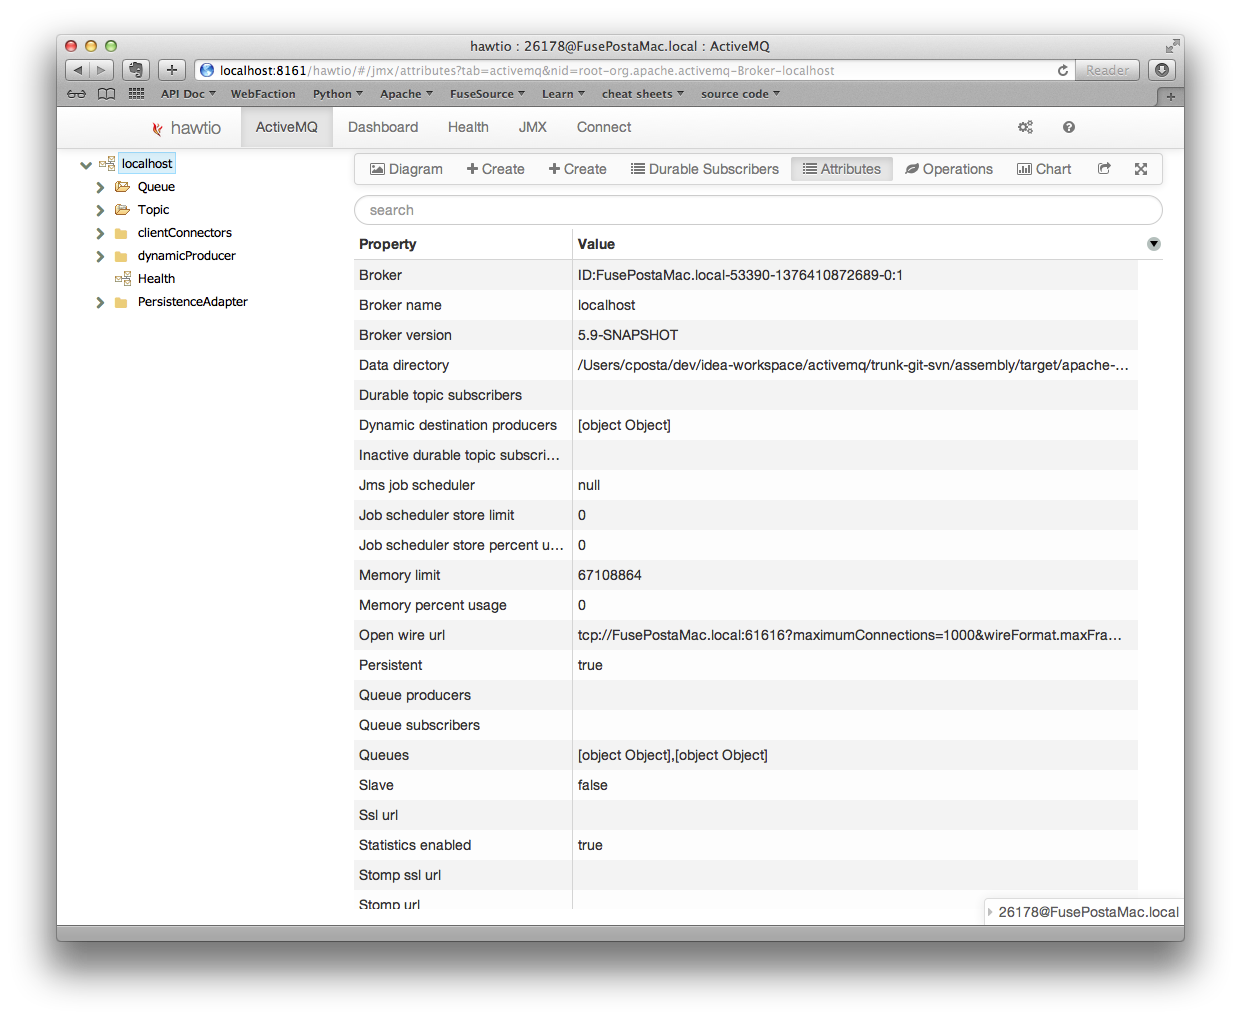
At the very top of the UI, you'll see a tab for "ActiveMQ". Tabs that appear here are those that have been auto-discovered. This makes sense since this deployment of HawtIO is bundled with ActiveMQ. If you click on the tab, you'll see a little more detail about the broker:
To the left of the main screen is a tree containing the JMX mbeans associated with this broker. This is pretty powerful in my opinion: there was no such MBean browser in the old console. The MBeans are your window into what the broker is doing by giving you stats about destinations, subscriptions, and overall broker health, resource usage, config details, etc.
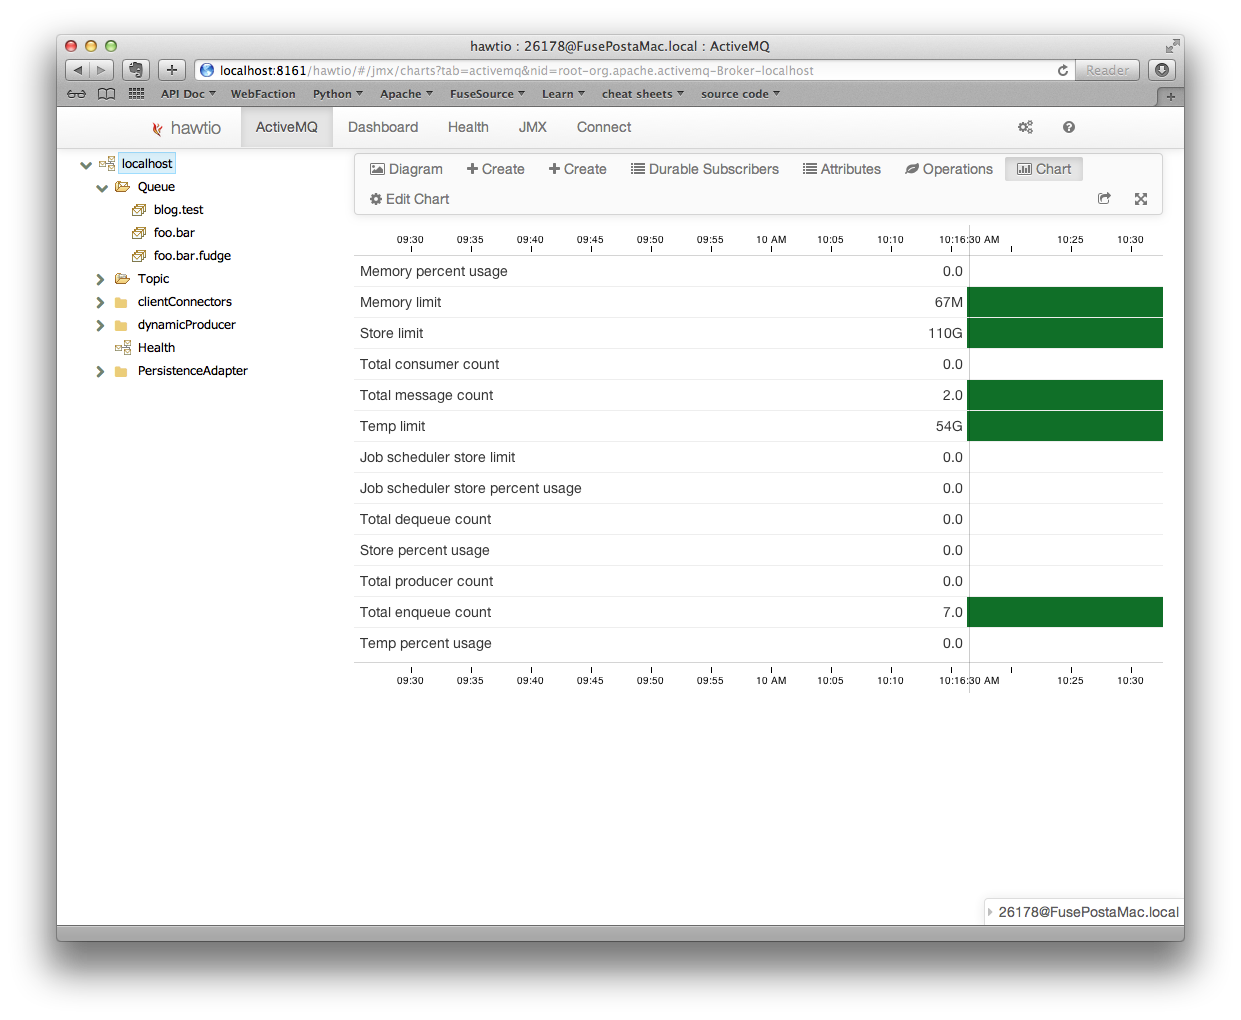
There are also some visual indications of the broker's health (Green == good! ...memory, store limits, enqueue/dequeues):
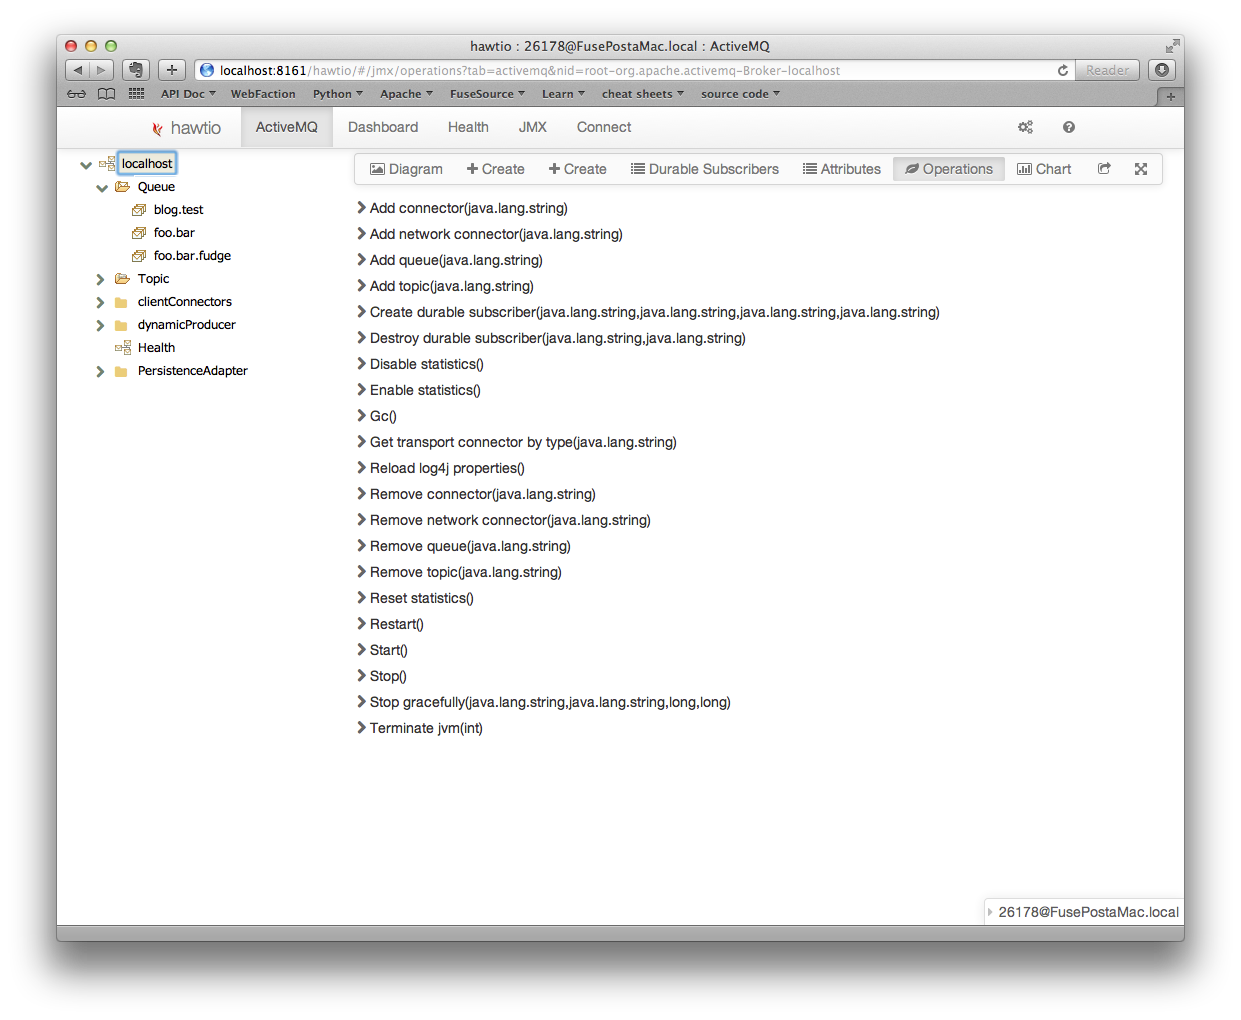
You also have access to "operations" that are usually tucked away under specific MBeans, but HawtIO brings the most-used ones to the forefront:
And in the future, there will be diagrams about broker clusters and topologies and maybe live statistic updates in the diagrams with health overviews. Pretty cool stuff!
Connect Remotely!
HawtIO is really just a webapp deployed into a servlet container as a WAR. So you can deploy into Tomcat, JBoss, or any servlet container you like. What happens if you want to do that, but connect to externally deployed ActiveMQ instances? Well, you're in luck.
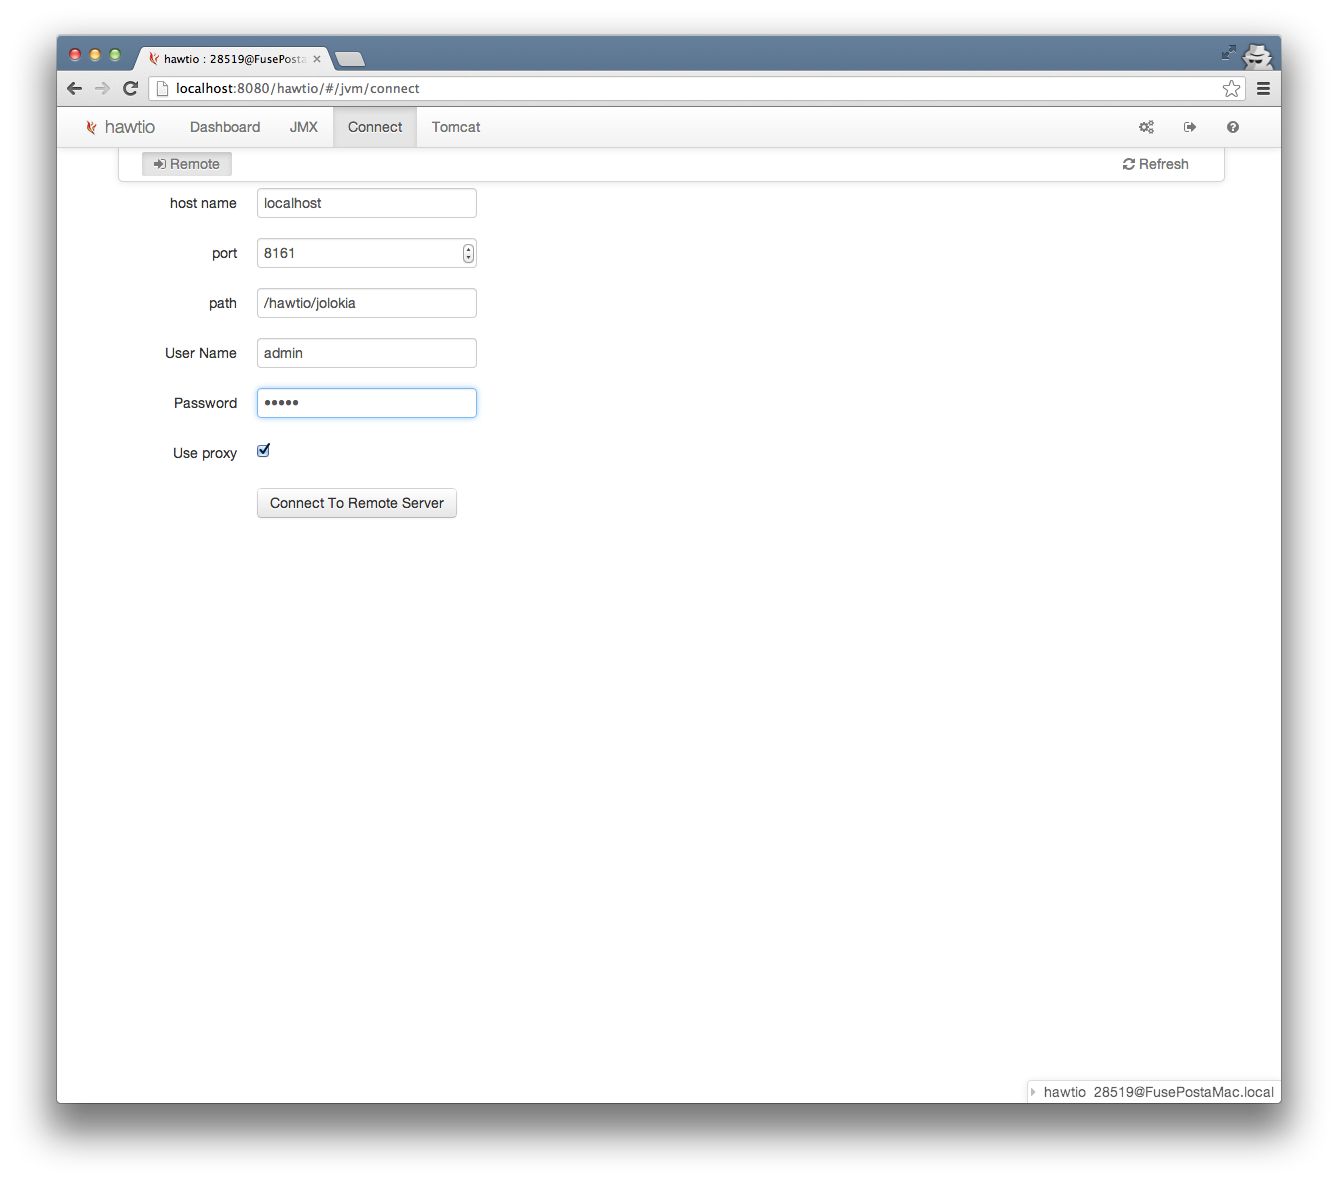
You'll notice that there is a "Connect" tab on the top panel of the HawtIO screen. Upon clicking it, you can enter in host/port/path information and connect up. HawtIO is expecting to connect up to a jolokia agent, so you'll need to make sure the service to which you're connecting supports Jolokia access. In the case of ActiveMQ 5.9, jolokia is exposed by default here: http://localhost:8161/hawtio/jolokia
Fill out your form like this:
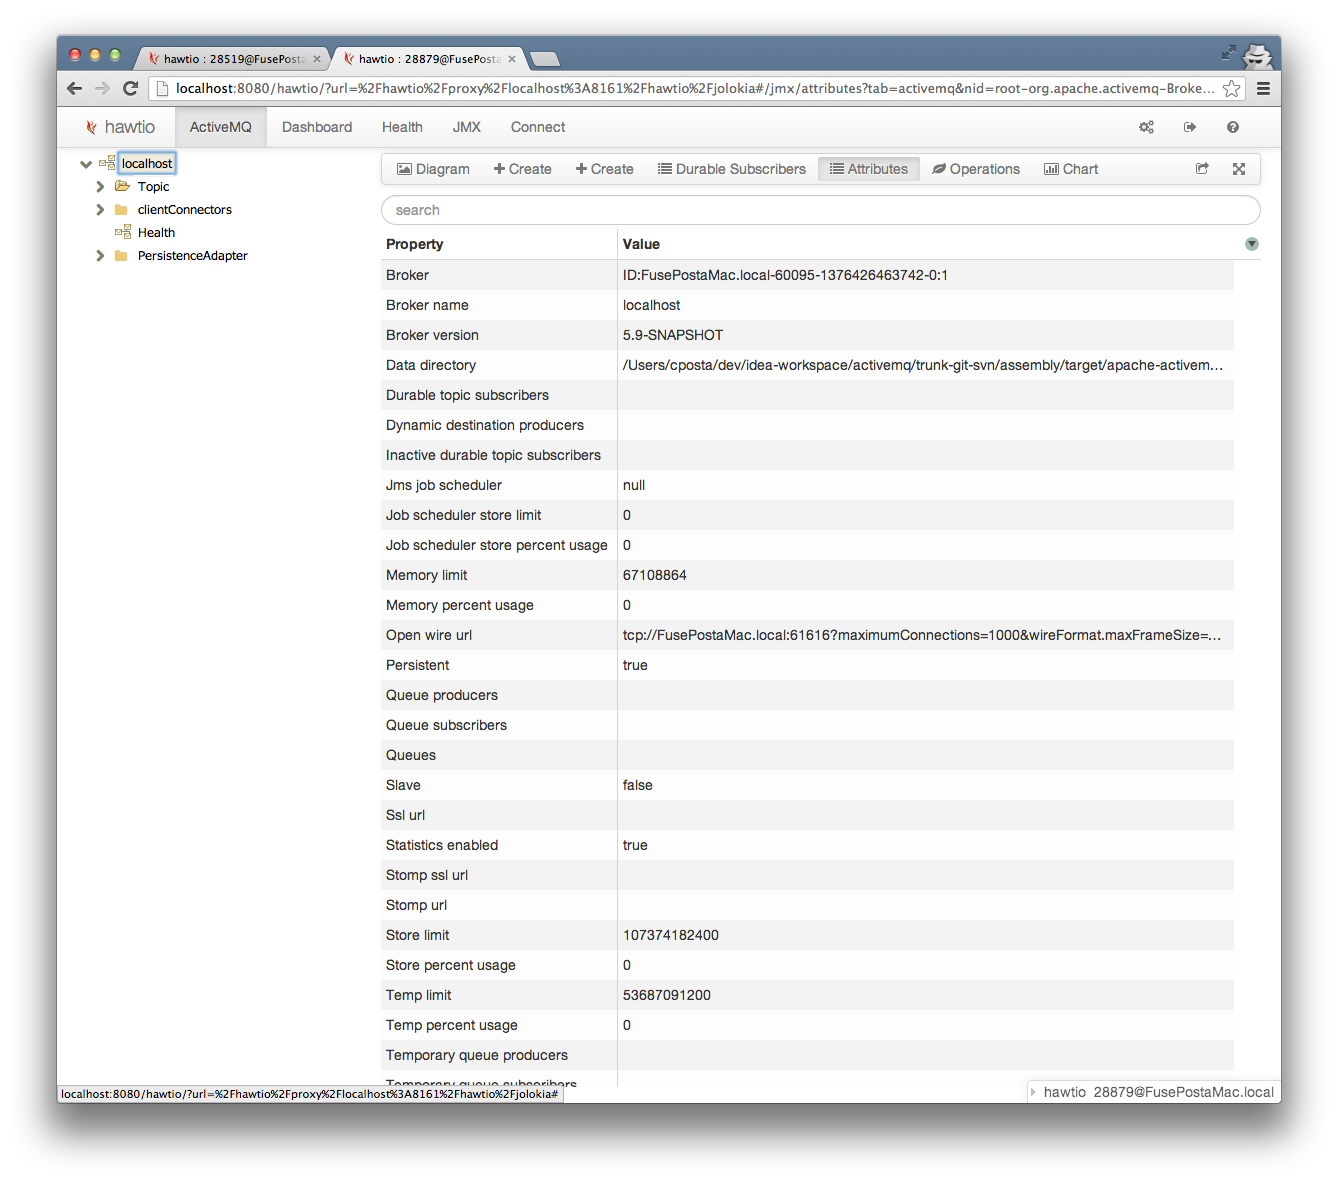
Upon clicking "Connect To Remote Server", you should be connected and presented with a new browser tab/window (note, in some versions of HawtIO you might be presented with a authentication dialog), and this new browser window will now have the ActiveMQ tab and access to the remote ActiveMQ:
What about older versions of ActiveMQ?
So this is all good and well if you're using ActiveMQ 5.9 which has Jolokia configured for use right out of the box, but what if you're using the previous version of ActiveMQ (5.8.0, or 5.7.0)?
Well, in fact Jolokia was included in the 5.8.0 version. But for 5.7.0 it wasn't. The point really should be that there are a couple ways for a JVM to expose a Jolokia access point, and as long as the Jolokia agent is available, HawtIO should be able to connect. So for example, in ActiveMQ 5.9.0 and 5.8.0, it comes with Jolokia and is exposed using a web agent. However, if you disable the embedded jetty in conf/activemq.xml then your best bet would be to expose a JVM agent. This is possible to do for 5.7, 5.8, or 5.9.
I recommend the following approach for adding in the Jolokia JVM agent
- Grab a distro of ActiveMQ (5.7.0, 5.8.0, or 5.9.0)
For this exercise, we're assuming the web-based agent is turned off if it comes installed by default.
- Use the create command to create a broker: From your $ACTIVEMQ_HOME dir, run
$ACTIVEMQ_HOME/bin/activemq create ../brokers/hawtio-broker
This will create a broker named "hawtio-broker" in the directory one level up under "brokers"
- Navigate to ../brokers/hwatio-broker and edit the bin/hawtio-broker script to include:
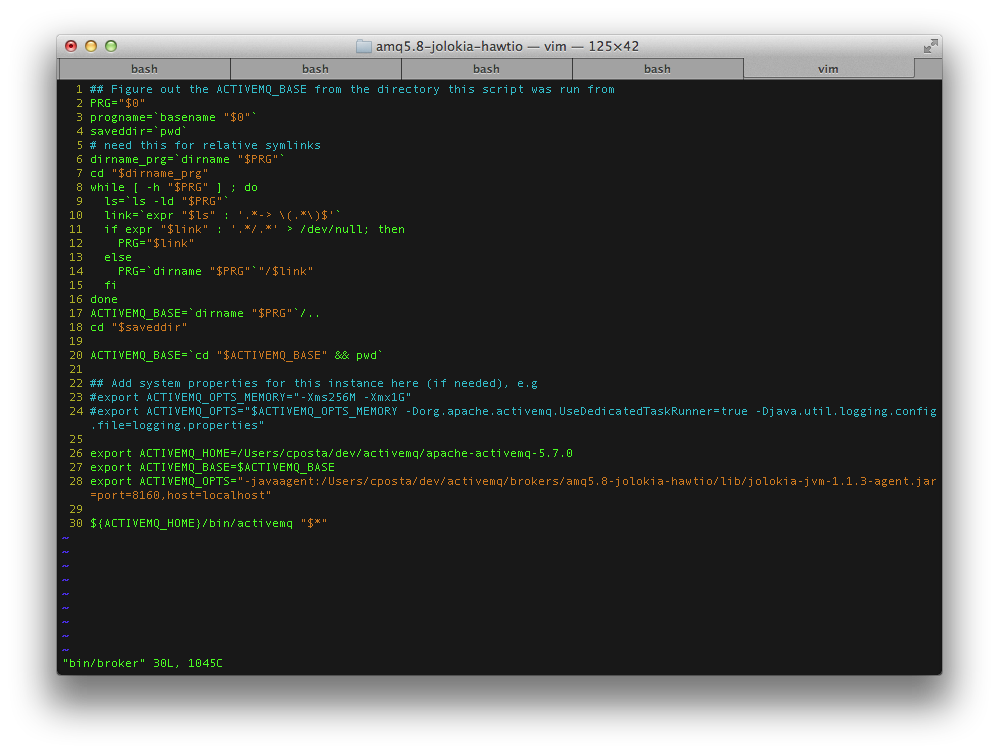
export ACTIVEMQ_OPTS="-javaagent:/path/to/jvmagent/hawtio-broker/lib/jolokia-jvm-1.1.3-agent.jar=port=8160,host=localhost"
This line can go below the other exports that might be in there. Note that the host and port here are what we will set in the HawtIO Connect form when we try to connect remotely.
- Next, you need to download the JVM agent from the Jolokia website and place that jar under your ../brokers/hawtio-broker/lib folder. lib won't be there by default, so create it. ActiveMQ will use this directory as an extension location and load up the agent from there based on the JVM args we set earlier.
- Follow the same steps as if you were to connect to a remote ActiveMQ, using the host and port specified in the JVM args above:
You should be greeted with a similar screen to before, with the "ActiveMQ" tab at the top:
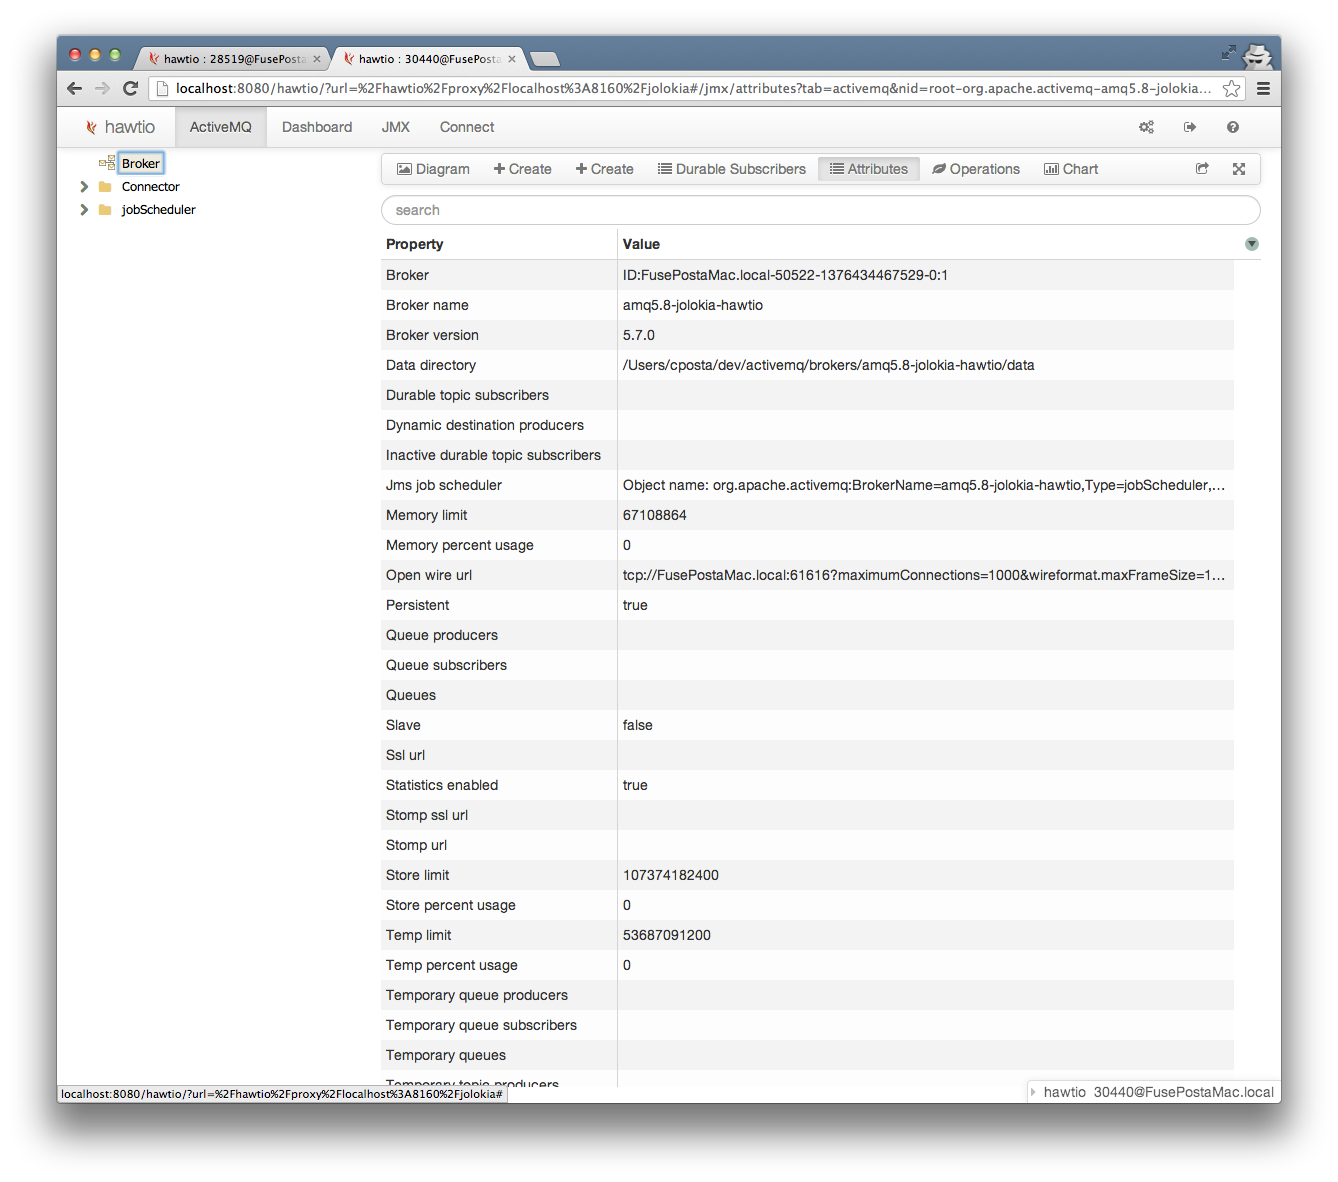
Upon clicking the ActiveMQ tab, you should see the stats that verify we are connected to a 5.7.0 (or whatever version you're using) broker:
There you have it. You can now connect remotely to ActiveMQ brokers with confidence.
Connect Locally
So this last section is still in progress... I will update it as I have time :)
I encourage you to try out HawtIO to monitor your ActiveMQ brokers. Your feedback is also highly valued, and can be directed to the HawtIO community. HawtIO is far more than just an ActiveMQ monitor, however, so check out its other features and stay cool!

